dBpoweramp Music Converter { Help Index > CD Ripper }
CD Ripper is launched by running dBpoweramp CD Ripper from the Control Center, or by inserting an audio CD and choosing the Rip with dBpoweramp option.
Quick Overview
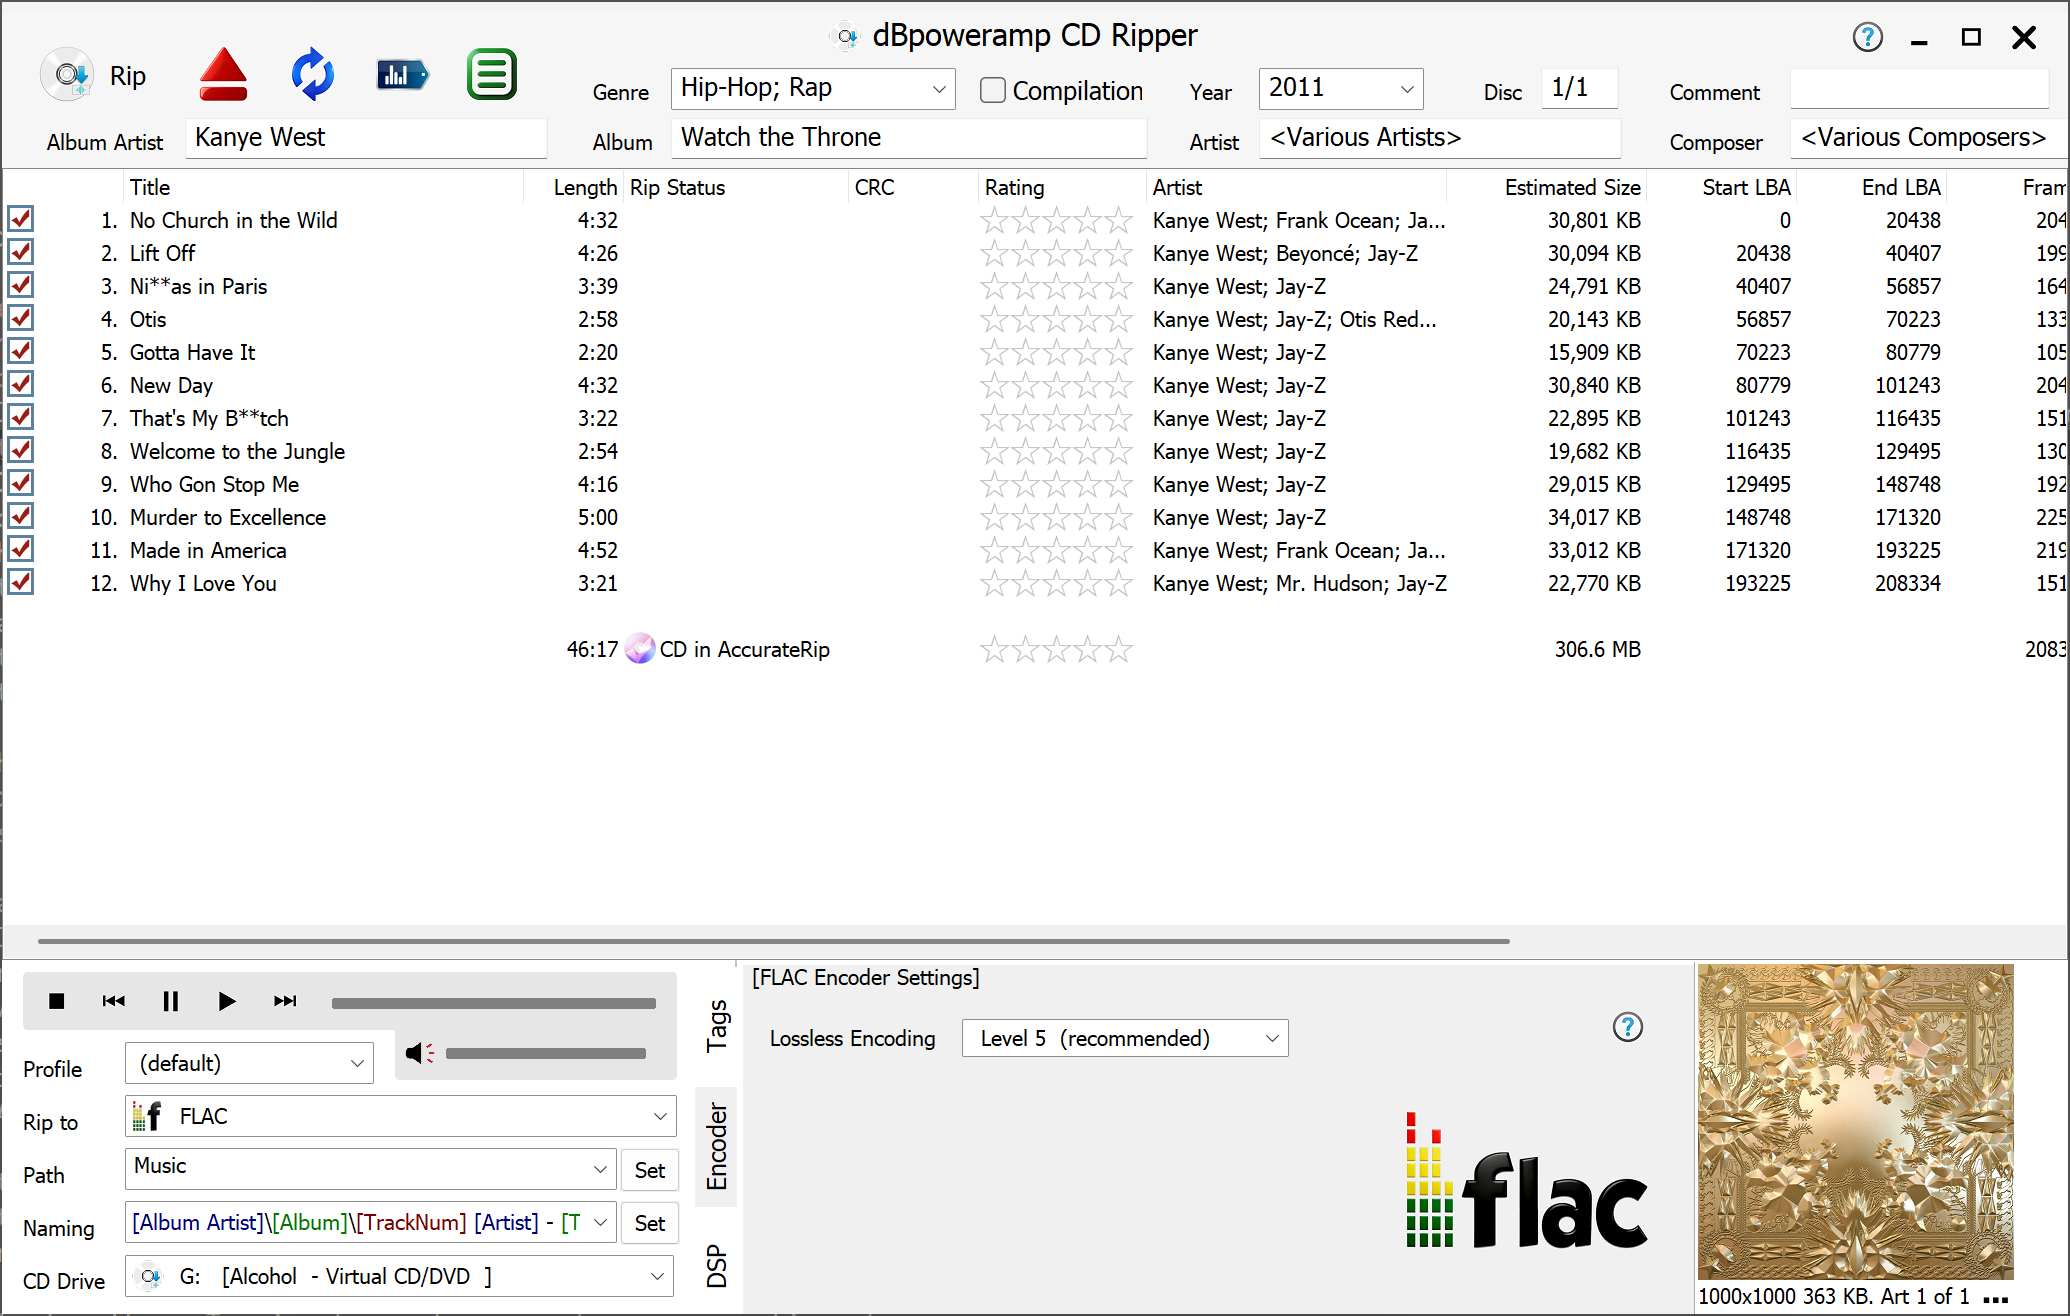
Once a CD is inserted metadata (track details) is read from the Internet, also an offer is made to find the drive offset [Windows], this unifies the ripping results from your drive in comparison to other brands of CD drive and will allow AccurateRip to be used. For macOS the offset is automatically chosen from known drives.
Before ripping it is useful to check the metadata, this can be done with the review metadata button 4th button from left at the top. Metadata from each individual provider is shown, highlighting any differences.
Should the album art be incorrect, click on the artwork and choices from the Internet are presented.
Path sets where Ripped tracks are saved, it defaults to your Music folder.
Click Rip button to begin ripping.
Tagging Insights
It is always preferable to correct metadata pre-ripping, correcting after ripping involves changing the ID Tags and potentially the filename also.
When it comes to tagging, your preferred audio player might have limitations with regards to reading certain tags such as Album Artist, or multiple artist support.
These are the best practices for ID Tagging:
Album Artist set to the main artist of disc, for compilation albums leave blank.
Compilation this should be checked if there are different artists on track by track basis. Compilation is used by players to group an album from different artists together.
Tagging box sets many options, many depend on player:
The disc number is set to correctly for each disc to 1/3, 2/3, 3/3. A compatible player will present the albums as: Album, Disc 1...Album, Disc 2, Album, Disc 3.
The album can be combined as one single continuous album, to do this, when inserting the 2nd disc, keep the disc number as 1/1, check that the album the same and right click on track one >> Apply Track number Offset >> 100), this will set disc 2 to have track numbers starting at 100. For disc 3 repeat the same process, selecting a +100, +100, to start at 200.
Finally the disc number can be left at 1/1, for all 3 discs, and instead manually enter ', disc 2' and ', disc 3' into the album title for disc 2 and 3.
Secure Ripping
For best results, without reading pages and pages of help, follow the CD Ripper Secure Setup Guide, to quickly setup secure ripping and get the best ripping results from your setup.
CD Ripper in Detail
CD Ripper comes preconfigured with two advantageous Internet based technologies:
compares your ripping results with other peoples rips. A match is a 100% certainty the rip was without error, no other secure ripping method can get this close to verifying error free rips. Once a month AccurateRip will request to send your results to help populate the database.
PerfectMeta offers the best metadata solution obtainable today, online meta-data from AccurateRip Meta, Discogs, GD3, MusicBrainz and freedb which is blended to remove errors. Metadata includes high resolution art.
Meta-Data
Meta-data comprises identification fields, such as album, artist and artwork, and is embedded into audio files in their ID Tags.
File and folder names are created from the meta-data, ensuring the meta-data is correct before ripping, saves work later on.
As already covered PerfectMeta helps correct meta-data errors by blending metadata from 5 providers, this allows errors such as spelling mistakes to detected and corrected.
These are the main ways of editing meta-data:
Should you have a brand new release not present in any database, the track titles can be entered manually, by selecting a track and pressing F2, after typing press enter to move onto the next field or down arrow to move to next track.
Sometimes the meta-data from the Internet does not match the disc, this happens if two diferent releases have identical track lengths, in this instance click the blue tag icon at the top to see if one of the providers has it correct.
Clicking the Tags tab (lower middle of CD Ripper), lists meta data for a selected track or the whole disc if no track is selected. Items shown in gray are excluded from being written (click Menu >> CD Ripper Options >> Meta Data & ID Tag 'Options' to view exclusions).
When the genre is set to Classical or Opera a section with Work and Movement appears on the tool bar, tracks can be selected together to enter a value for those selected tracks (such as Work).
A Bar Code scanner can be used to quickly lookup that exact disc, a USB bar code scanner (costing about $20) is required and the Bar Code option under Active Providers enabled. On disc insert a scan code page is shown. Entering a barcode improves accuracy of metadata retrieval. The Barcode is also stored as UPC ID Tag.
Album Art
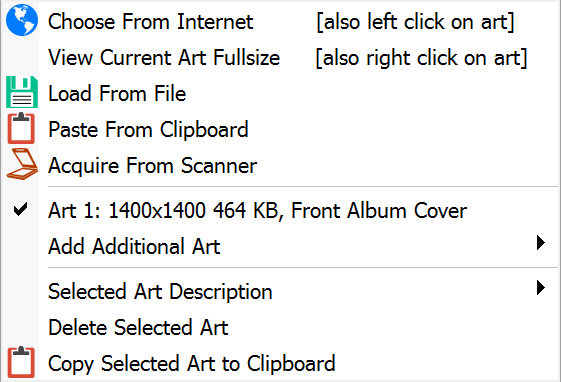
Album Art is automatically retrieved from the internet, sometimes the wrong art of art if a small resolution is returned, if artwork is not of a suitable quality click the artwork to choose manually.
It is also possible to add album art manually by clicking [...] (button) >> Load From File, Paste From Clipboard or Acquire From Scanner. Note when adding new art with [...], the old art is not removed, it should be removed before adding new.
Multiple artworks can be added and given a different description (such as Back Album Cover) by using the Add Additional menu.
CD Ripper will scale down the art to the size set by CD Ripper Options >> Meta & ID Tag 'Options' >> Maximum Pixel Size (defaults to 1000x1000 for best player compatibility).
Right click on a art to display at full resolution.
Rip Status
Ripping status is shown for each track, informing progress and secure rip status.
Burst Ripping
Burst ripping method has no error correction, ripping is done in one shot.
Ripping and encoding are done at the same time. The light grey bar on Rip Status shows the read position, whilst the darker grey bar is the
encoding position. dBpoweramp Reference allows multiple CPU systems (such as dual core) to encode two or more tracks at the same time.
Secure Ripping [Reference required]
Secure ripping uses multiple passes to identify and correct errors, possible display values are:
First pass, if matches AccurateRip further ripping is not required.
Third pass, the blue highlight indicates that a new error (previously concealed on a previous pass has been detected)
After passes have completed, frames with possible errors are re-ripped multiple times. The red line shows the error position within the track.
The red highlight shows that frames could not be recovered whilst ripping, an insecure rip.
After ripping has completed the audio is passed onto the chosen encoder. dBpoweramp Reference will use multiple CPUs if present.
Rip is 100% error free, confidence of 12 indicates it matches 12 results from other people, even a confidence of 1 is enough to ensure an error free rip as long as it was not yourself who submitted the first result.
Again the rip had no detectable errors, but this time the CD is not present in AccurateRip's database.
Your rip disagrees with 12 other peoples rips. Green i indicates that frames had to be re-ripped, possibly an undetected error has
slipped through. If most tracks have an AccurateRip verification, and the confidence (number shown in brackets) is more than one, it is likely your rip has errors.
AccurateRip says your rip has errors, also CD Ripper says it is unsecure.
DSP, Encoder & Tags
ID Tags are embedded into each audio track. This section shows all the tags, items shown in light grey are excluded from writing to ID Tags by the Meta & ID Tag option page.
Encoder displays settings for the chosen Rip to encoder.
DSP (Digital Signal Processing) allow audio processing effects to be applied, for example ReplayGain calculation. Effects are performed in a top to bottom order. Specific to CD Ripping:
Audio CD Hidden Track Silence Removal, which searches within the track for long periods of silence and removes it (often the last track has 4 minutes of silence before a 'hidden track'.
Audio CD Silence Track Deletion: some discs have 60 silence tracks before one hidden last track, this effect removes those silence tracks
HDCD: this effect detects high definition audio CDs and decodes them to 20 bit (as 24 bit file).
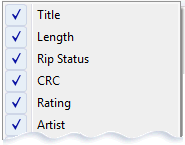
Right clicking on a track list column header (such as Title) allows customization of shown fields.
CRC shows a checksum calculated from the last rip, a green CRC if a re-rip matches the previous, or Red for miss-match (a sure sign that one of the rips had errors).
Filename column displays the final filename to be written, highlighted in blue if the file exists.
Track Technical highlights exotic CDs (such as HDCD or CDs with Pre-Emphasis).
The order of columns can be set by removing and readding in the order required.
Path and Naming
Path and Naming work together to set the final folder path and filename, by default naming dynamically changes depending upon CD:
Normal CDs: \[Artist]\[Album]\[Track Number] [Artist] - [Title]


 compares your ripping results with other peoples rips. A match is a 100% certainty the rip was without error, no other secure ripping method can get this close to verifying error free rips. Once a month AccurateRip will request to send your results to help populate the database.